Saturday, December 24, 2011
Wishing You A Merry Christmas
Monday, December 19, 2011
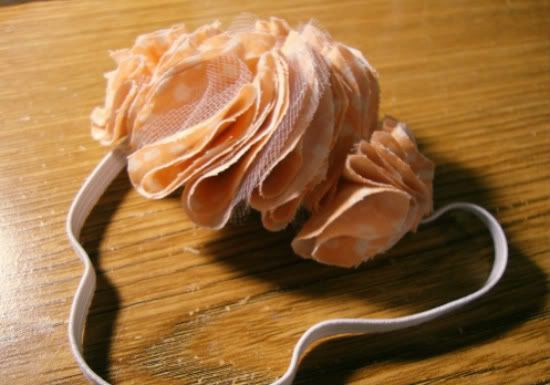
Fabric Hairpiece Tutorial
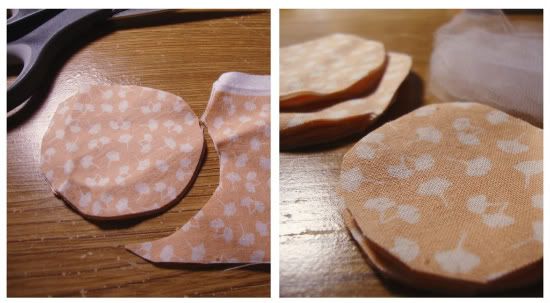
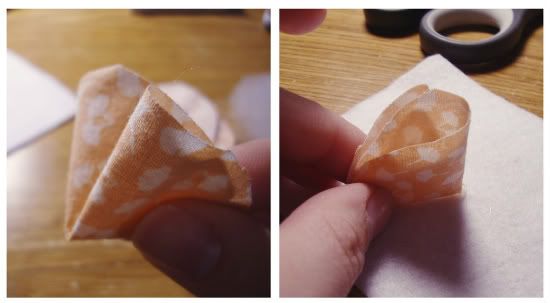
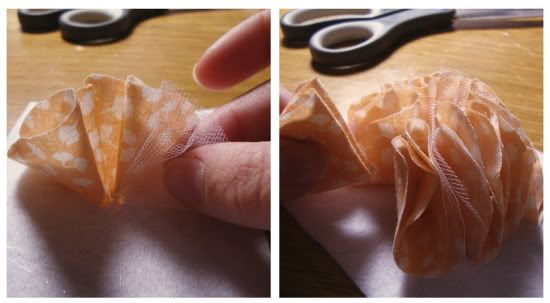
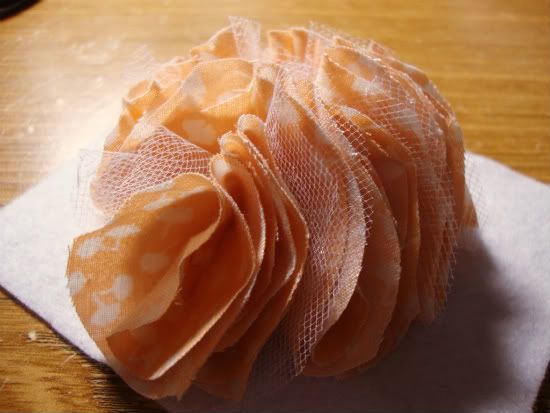
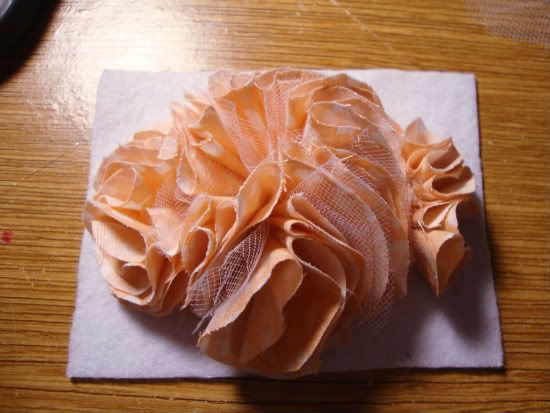
Fill with folded circles until it reaches a fullness and appearance that you like.
Remember the smaller circles? You can fold and glue them on opposite ends to change the overall shape of the fabric cluster.
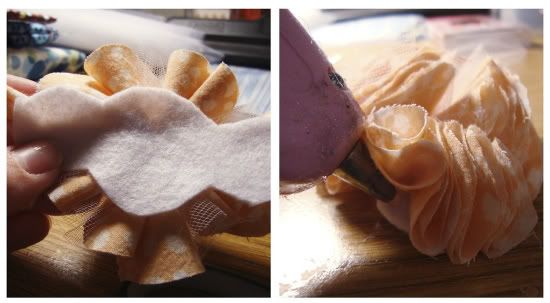
Next, turn the felt over and trim to make a base small enough that it won't be seen from the top side of the fabric. You can go back in with the glue gun to attach the edges of the felt to the fabric to make it a little more secure and firm.
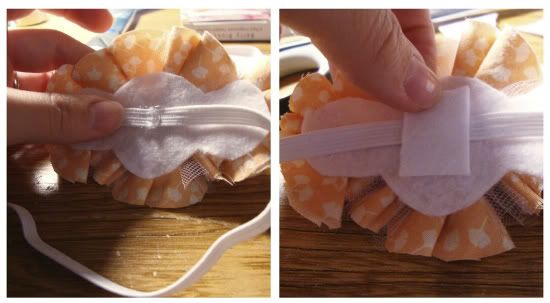
Take a piece of elastic cut to fit around the head snuggly, and glue each end to the center of the felt. Make sure to double check which way you want the piece to sit on the head and glue the elastic accordingly. You can also use hard headbands, pre-made stretch headbands, or clips--again, since this was for a little girl, I used a piece of elastic instead to make sure it was small enough to stay on her little head. Next, cover the "seam" by gluing a small square of felt to the back.
Sunday, December 18, 2011
Spiced & Iced Gingerbread Men Recipe
For those of you who like your gingerbread men to pack a bit of a punch, this recipe is for you! The dough has a little more spice which makes for wonderfully delightful and flavorful Christmas cookies. And perhaps I never knew to make icing this way, but I used an icing recipe that's made with a meringue base, so it hardens up enough that it won't get smudged (my constant struggle with icing cookies) but it doesn't turn into plaster either. I made two batches last sunday for visiting teachees and Joey and his roommates, and they were all gone within just a day or two!
Cookie recipe adapted from Allrecipes
- 1/2 cup butter
- 1/2 cup sugar
- 1/2 cup molasses
- 1 egg yolk
- 2 cups sifted all-purpose flour
- 1/2 teaspoon salt
- 1/2 teaspoon baking powder
- 1/2 teaspoon baking soda
- 1/2 teaspoon ground cinnamon
- 1 teaspoon ground cloves
- 1 teaspoon ginger
- 1/2 teaspoon ground nutmeg
- 2 large egg whites or 5 tablespoons meringue powder
- 2 teaspoons fresh lemon juice or 1 teaspoon vanilla extract
- 3 cups confectioners' sugar, sifted
- In a large bowl, cream together the butter and sugar until smooth. Stir in molasses and egg yolk. Combine the flour, salt, baking powder, baking soda, cinnamon, cloves, ginger, and nutmeg; blend into the molasses mixture until smooth. If your dough is too sticky, slowly add a little more flour until it reaches a texture you like. Cover, and chill for at least one hour.
- Preheat the oven to 350 degrees F (175 degrees C). On a lightly floured surface, roll the dough out to 1/4 inch thickness. Cut into desired shapes with cookie cutters. Place cookies 2 inches apart on ungreased cookie sheets.
- Bake for 7-10 minutes in the preheated oven, until firm. I recommend watching the first batch very carefully to know how long they need to bake for--my oven gets a little warmer and I like softer gingerbread, so I only cooked them for 6 minutes. Remove from cookie sheets to cool on wire racks.
- For icing the cookies: With a hand mixer, beat the egg whites with the lemon juice or extract until frothy. Add the sifted powdered sugar and beat on low speed until combined, smooth, and shiny. Turn to high and beat approximately 5 minutes till stiff and glossy. Add food coloring, if desired, and transfer to a pastry bag to pipe onto cookies.
Wednesday, December 14, 2011
Design: Lace Brushes for Photoshop
Tuesday, December 13, 2011
Military Tribute by Oh Penelope Photography
Sunday, December 11, 2011
Pining for Italy
Thursday, December 8, 2011
Salted Brown Butter Rice Crispy Treat Recipe
The name might sound weird--salt in a rice crispy treat? brown butter??
But oh. It is so good.
Its just a couple minor things, but browning the butter and adding salt makes all the difference in the world. Just try to eat a normal rice crispy treat after having these--it'll never be the same. These are just too delicious!
1 10-ounce bag marshmallows
Heaping 1/4 teaspoon coarse sea salt
6 cups Rice Krispies cereal (about half a 12-ounce box)
- Butter (or coat with non-stick spray) an 8-inch square cake pan with 2-inch sides.
- In a large pot, melt butter over medium-low heat. It will melt, then foam, then turn clear golden and finally start to turn brown and smell nutty. Stir frequently, scraping up any bits from the bottom as you do. Don’t take your eyes off the pot as while you may be impatient for it to start browning, the period between the time the butter begins to take on color and the point where it burns is often less than a minute.
- As soon as the butter takes on a nutty color, turn the heat off and stir in the marshmallows. The residual heat from the melted butter should be enough to melt them, but if it is not, turn it back on low until the marshmallows are smooth.
- Remove the pot from the stove and stir in the salt and cereal together. Quickly spread into prepared pan. I liked to use a piece of waxed or parchment paper that I’ve sprayed with oil to press it firmly and evenly into the edges and corners, though a silicon spatula works almost as well.
- Let cool, cut into squares and get ready to make new friends.
Tuesday, December 6, 2011
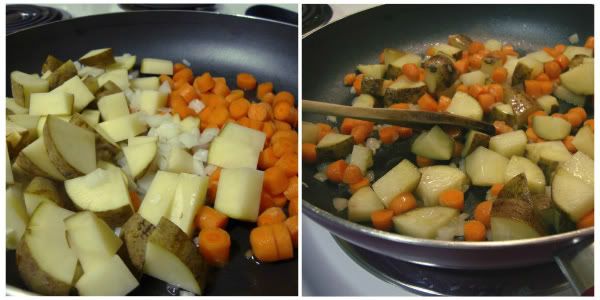
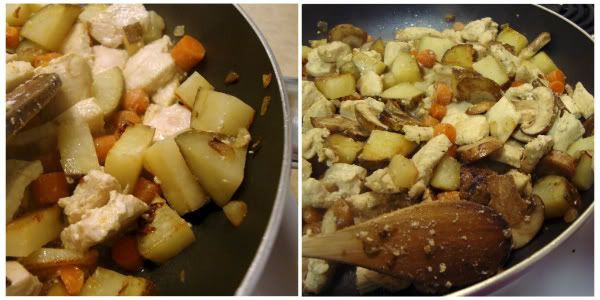
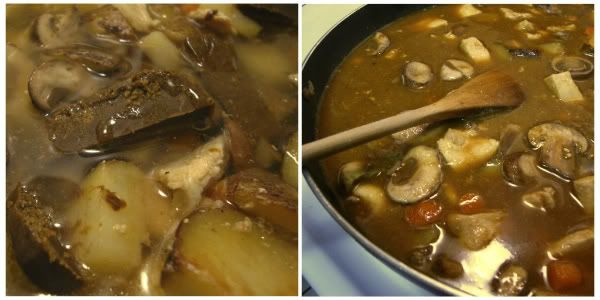
Japanese Curry Recipe
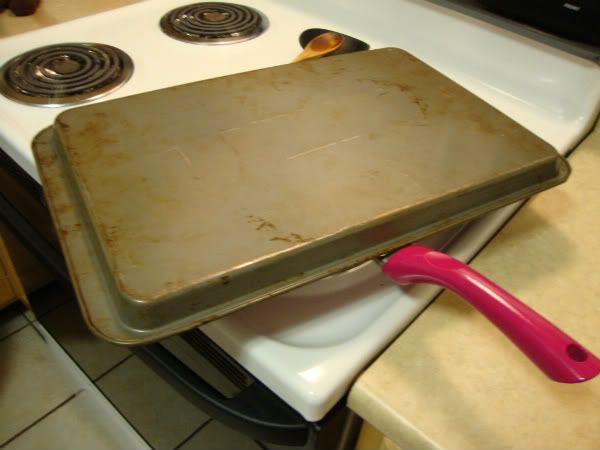 |
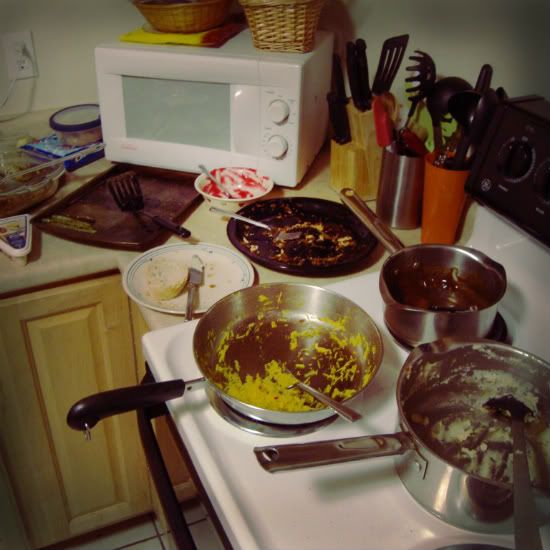
What we do with a baking sheet when we don't have any lids that fit our pans. |
Thursday, December 1, 2011
A Face Lift for the Blog

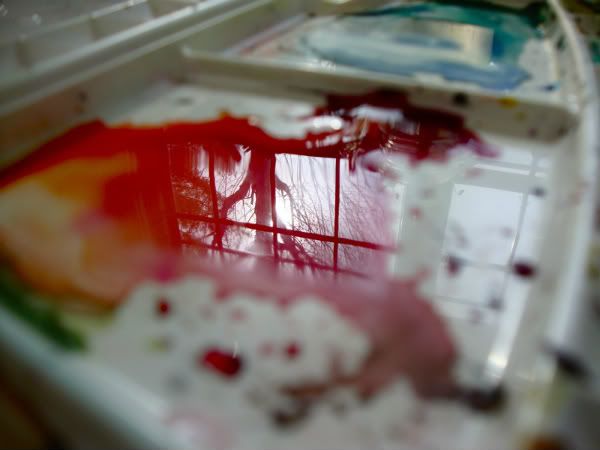
Watercolors
Thursday, November 24, 2011
Sunday, November 20, 2011
Gratitude in Photos
Saturday, November 19, 2011
Pho Friday in DC
 We had another yummy Pho Friday in Washington DC yesterday. In between checking out our reception venue and meeting with the caterer, we had a late lunch at Four Sisters, a Vietnamese restaurant in Falls Church. Their spring rolls weren't our favorite, but the pho was dyn-o-mite. Also, after innumerable previous attempts, I finally succeeded in eating a whole meal with chopsticks!
Saturday, November 12, 2011
Engagement Photos Are Here!
Thursday, November 10, 2011
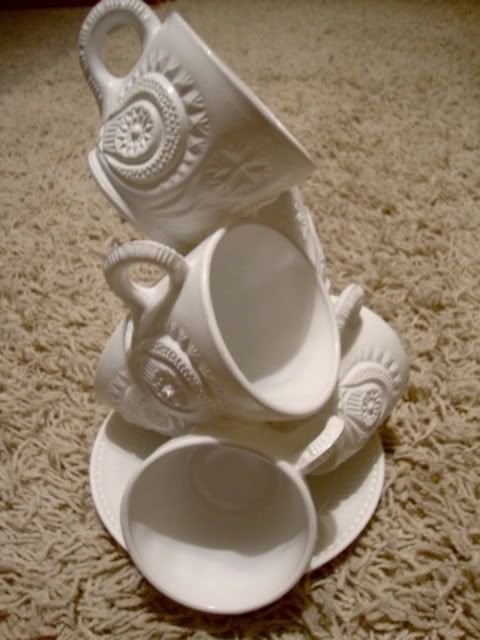
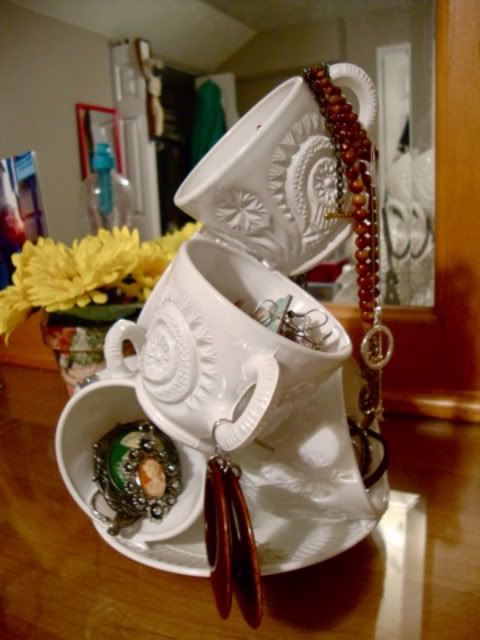
UO Jewelry Stand Knock-Off
 ...and I simply adored it. But my wallet didn't adore the $70 price tag! Though its now on clearance for a meager $35, I still can't justify spending more on a container for my jewelry that probably doesn't cost that much combined.
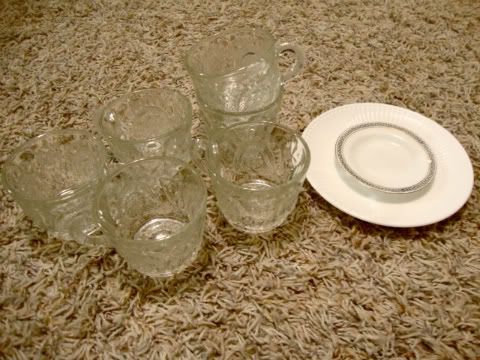 I decided upon an arrangement in my mind and then got to glue-ing! Because I'm impatient and wanted to have my new piece immediately, I only used a hot glue gun instead of super glue, but it actually held up really well and is pretty secure. Though to avoid the pain of trying to get all of the glue strings off (which, no matter how hard I try, some sneak past me) and having to work super quickly, I recommend a stronger glue, if you can stand the drying time wait.
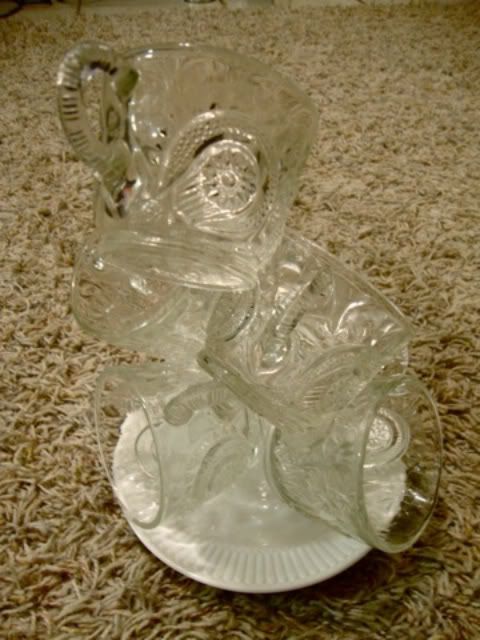 Then it was outside to the patio with some newspaper and the left over white spray paint from my DIY chandelier project. I lacquered that puppy with a couple good coats of paint, and did my best to wait for it to dry.
- six glass tea cups and two glass saucers (1 of which I didn't use): $2
- white spray paint and glue gun: already had
Pumpkin Cranberry Muffins with Cream Cheese Frosting
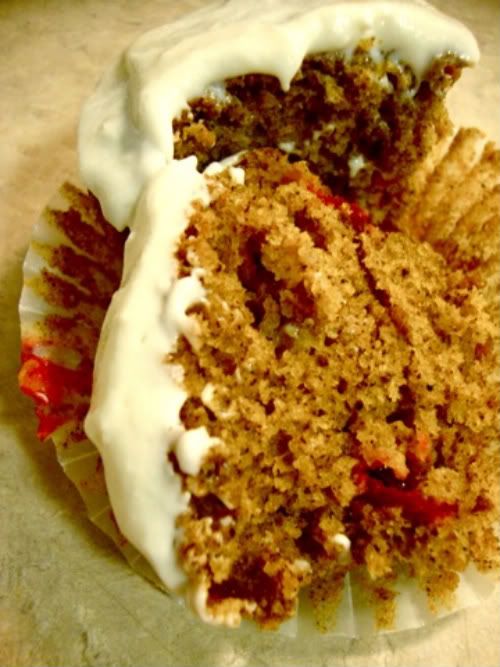
These muffins are a delicious bite of heaven - if heaven is perpetual autumn and all things fall.
Preheat oven to 350°F. Put liners in muffin cups (and I like to spray them with cooking spray so the muffin comes out of the muffin cup perfectly).
Whisk together pumpkin, oil, eggs, 1 1/4 cups sugar, baking soda, cloves, nutmeg, cinnamon, and salt in a large bowl until smooth, then whisk in flour mixture until just combined.
Wash and dry cranberries. Slice larger ones in half; toss the cranberries with 2 teaspoons of sugar to coat (I did this to cut down the sourness of the berry and it didn't make the muffins too sweet). Fold the coated cranberries into the batter.
Divide batter among muffin cups and bake until puffed and golden brown and wooden pick or skewer inserted into the center of a muffin comes out clean, 22-27 minutes.Remove muffins from pan and cool on a wire rack.
For the Frosting:
Place softened cream cheese and butter in a medium mixing bowl and beat until smooth and well blended. Sift in confectioners sugar and continue beating until smooth. Add vanilla and lemon juice and stir to combine.
Cover the muffins with cream cheese frosting and enjoy this oh so yummy autumn treat!
Thursday, November 3, 2011
Saturday, October 29, 2011
Pho Fridays

Tuesday, October 25, 2011
Love Locks
