Thursday, January 7, 2016

The Blue Piano

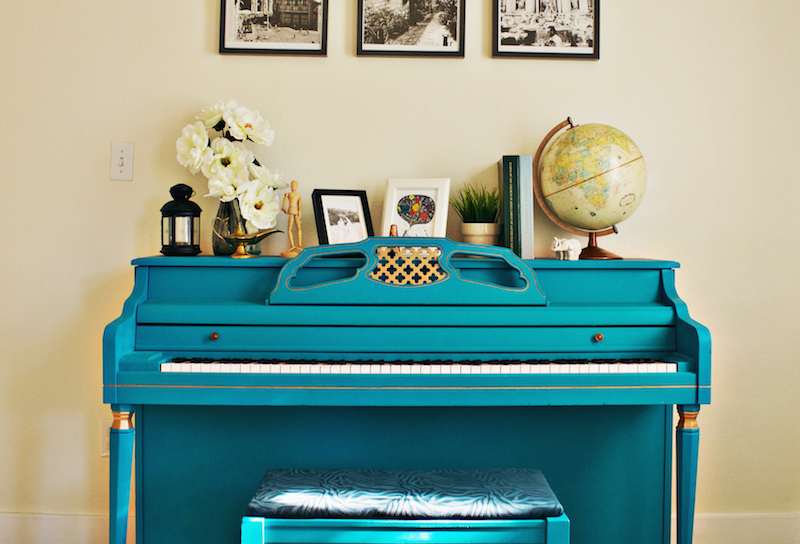
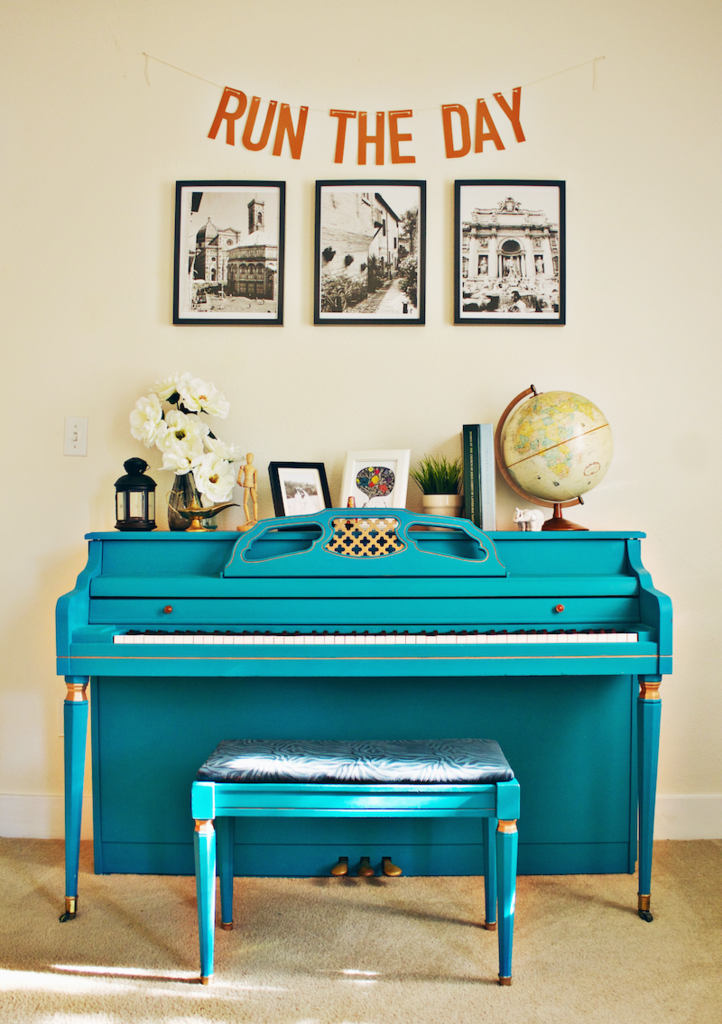
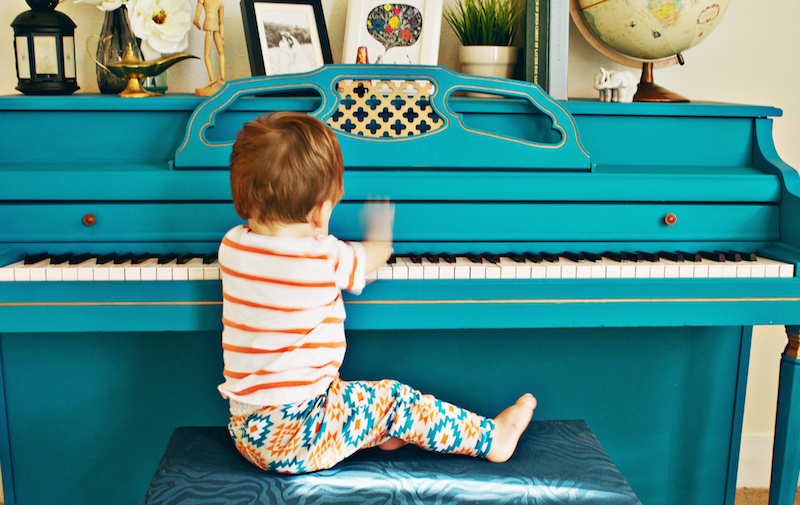
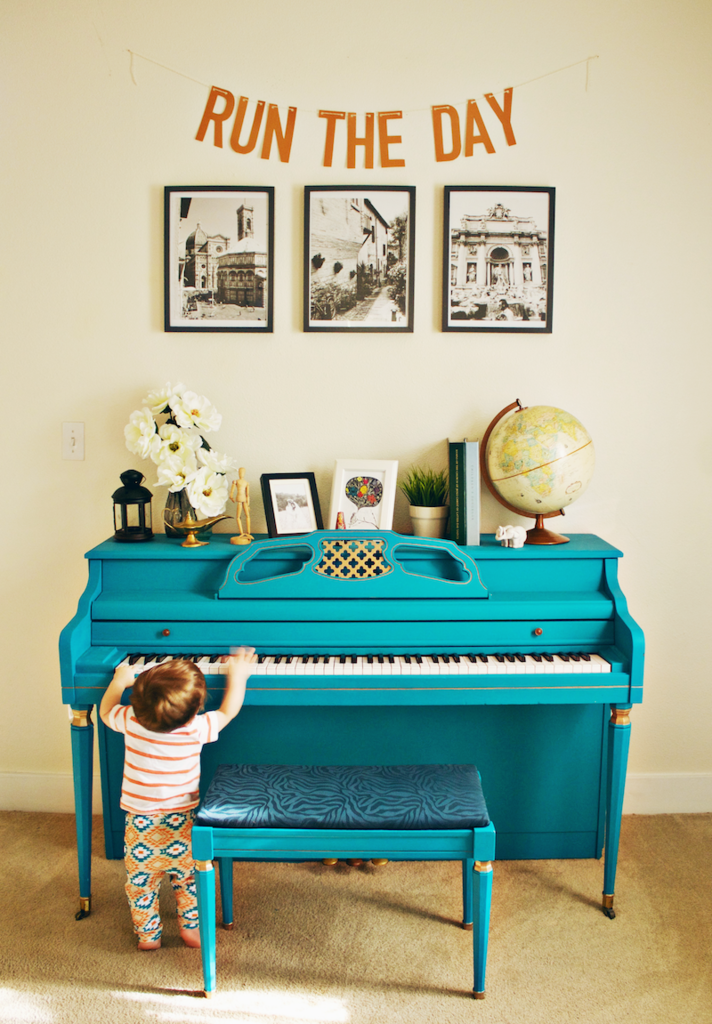
Its been jussssssst about a year since we did this project, and we're not even in the same house (or state, for that matter) anymore, but I've been meaning to share it this whole time because I just love it to pieces---what's not to love about a bright, happy, colorful piano?

 photo blue piano 01.png  photo blue piano before.jpg

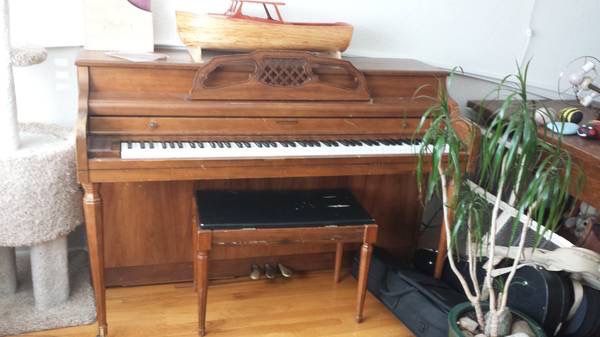
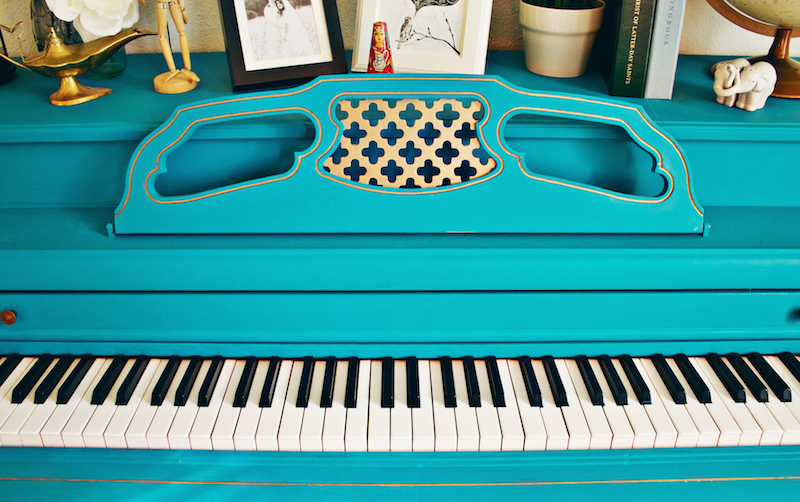
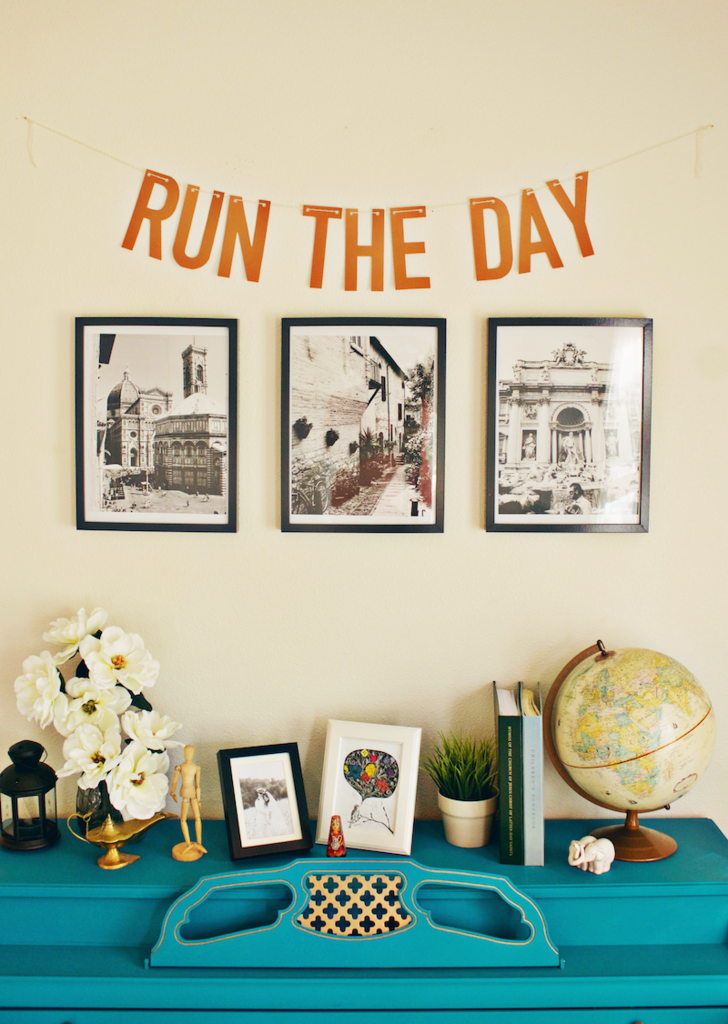
So. This right here, is our piano. We found the listing and accompanying photo on Craigslist the week we moved in to our Washington home. I don't play and Joey hasn't in a long time, but we want our kids to have the option later down the road, and you can't beat a free piano--seriously! FREE! I was so nervous it was going to arrive with no keys or something. But as far as the actual piano part goes, it was in great shape; she just needed a little makeover.

 photo blue piano 03.png

We used this chalk paint tutorial, and I can truly say it went on like a dream. I definitely recommend it if you're going to refinish furniture, especially with minimal-to-no sanding.

 photo blue piano 04.png
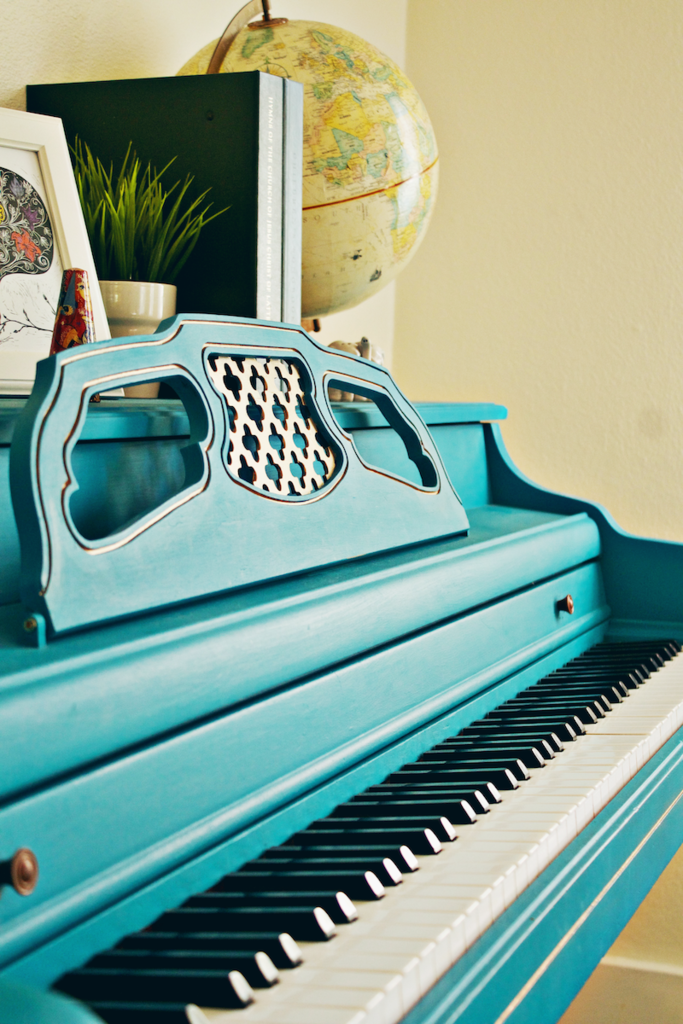
 photo blue piano 06.png

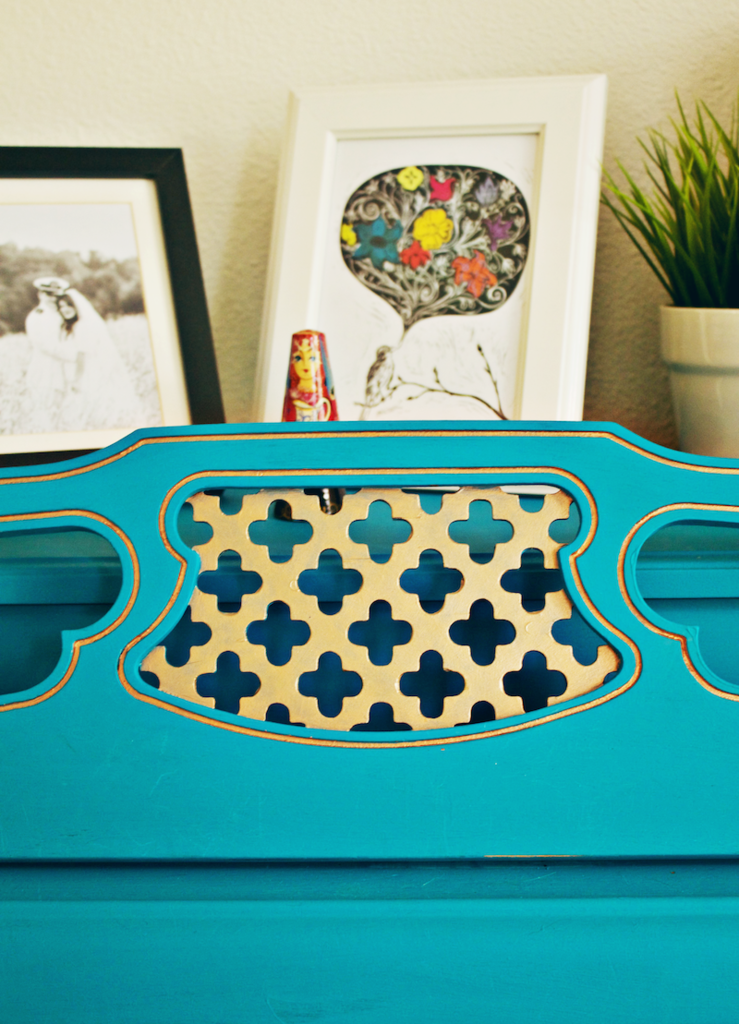
The gold accents were actually an afterthought to the initial all over blue. I was nervous it would be a little too liberace for our suburban home, but I'm so glad we went with it. It really finished the piece, and even just last night Joey and I were sitting on the couch talking about how much we love it and can't believe we almost left it plain.

 photo blue piano 07.png
 photo blue piano 08.png

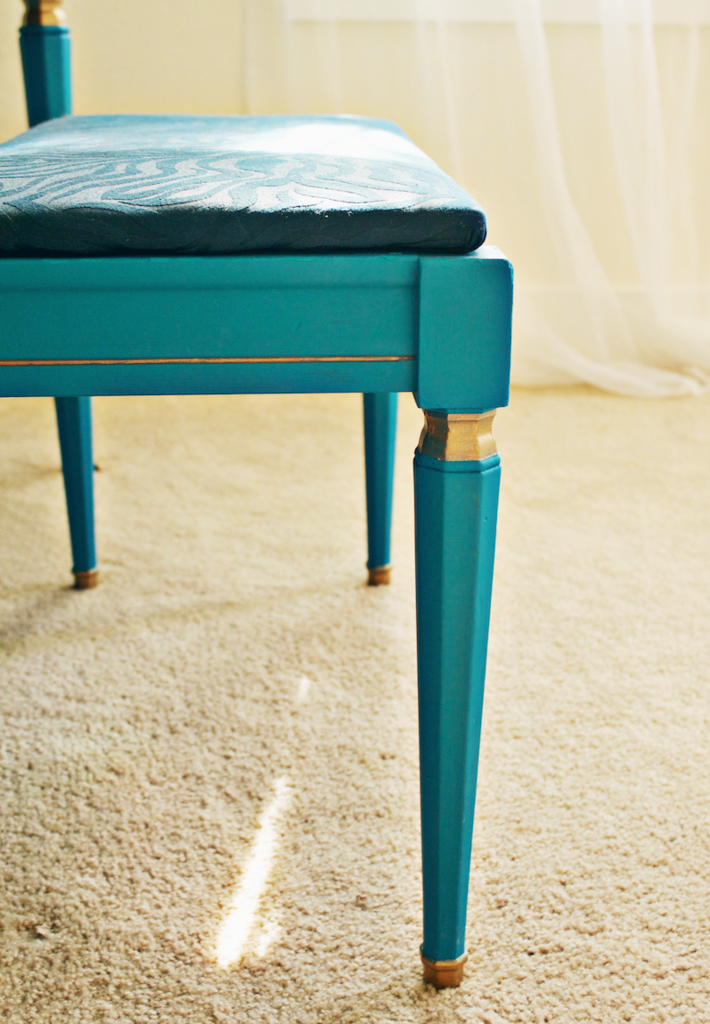
I reupholstered the bench as well with some funky tone on tone zebra twill I snagged in the clearance section and like the gold paint, is one of my favorite details too. 

 photo blue piano 09.png  photo blue piano 10.png  photo blue piano 11.png

Curran's quite a bit older now but his love for tickling those ivories hasn't changed a bit, except that now he can lift the cover all by himself and play away whenever he is so moved. Hopefully that interest will stick around as he gets older! 

So there you have it, folks. Our floors have changed and the top is styled differently, but our piano is as cheerful as ever. A year later and we are as in love with it as you can be with furniture. If your home needs an oversize dose of happiness and joy, I wholeheartedly recommend a colorful piano for you too.


Monday, June 1, 2015

Our Dining Table Revamp.

Well we're coming up on a year since we started this project, and I'm finally getting my stuff together and sharing our dining table overhaul!
Here's a look at our old dining set. We bought it off of Craigslist when we moved to South Carolina after living in a furnished apartment in Virginia. The chairs and table legs were solid wood, but the table top was that awful particle board and laminate. From the day we got it I had envisioned several makeovers but we didn't have the working space while living in an apartment. So once we moved to Washington and in to an actual house, I was so excited to tackle this project. And after taking a few months to get used to the whole, having a newborn thing, we were finally ready to get to work!
I had no intention of making a tutorial out of this, but I can at least walk through the steps we took to make our new table top and refinish our chairs. First, of course, we cleaned everything, then got to sanding and prepping the chairs and table legs. 
After sanding we covered them in spray primer. The spray primer was more expensive than a can, but we knew trying to paint primer around all of those rungs would take for-ev-er (and time became exponentially more valuable after having a baby), so we decided it was worth the cost to get it done faster with spray primer. 
At first we had settled on blue and yellow paint for our chairs. I had gotten coupons for free Valspar paints so we figured we'd use it on the chairs and save a little money. However once we started we realized two things: first, we did not like either color (and they were a little too Navy pride for us), and second, it just wasn't brushing on nicely. So we abandoned the blue and yellow paint and opted for black spray paint and a different shade of yellow, also in spray paint. 
We also used white spray paint for the table legs. I know it sounds like a ton of cans of spray paint but it wasn't too bad, and the white and black cans were dirt cheap anyway. 
On to the table. First we assembled the table top (side note: we did make the new table quite bigger than the original) then took it outside to sand it super smooth. After a good cleaning we gave it a couple coats of stain and a final quick sanding. We attached lattice board to the border of the table with finishing nails and used wood putty to fill in the holes. Then we used some old packing paper and frog tape to cover the wood table top and spray paint the lattice white. We did the paint after attaching the lattice rather than before so that the putty would get covered without having to repaint over everything. Finally, we removed the paper and tape and brushed on a few coats of polyurethane (we also polyurethaned the chairs as well). All that was left was to screw on the old table legs! The top needed a bit more stabilizing so we actually used a couple Ikea Skorva mid beams on the underside to sturdy it up. 
And there she is! 
Joey was skeptical about having two bright yellow chairs but after seeing the whole look he loved it as much as I did. I've been trying to figure out a balance between neutrals and color and I think the pop of yellow is a fun balance for me.
Joey and I have a saying we like when we try new projects: "its not perfect, but its ours". We are far from expert carpenters or decorators or designers, but there is something so satisfying about making something new and exactly what you wanted, with your own hands. Our table may not be perfect, but its ours, and it has served us well for the past several months. We look forward to our table growing with us as our family grows, squeezing in more chairs and enjoying happier and louder family meals.  
[I spy a little Curran!]

And I have to give a little thanks to Joey for always getting on board when I have crazy ideas and helping me make things like this dining table for our family. This kinda stuff takes two and I'm glad he's on my team. I got a good one!


Monday, January 26, 2015

Golden Birthday Breakfast

Not only was yesterday Joey's birthday, but it was also his Golden Birthday! I always thought a Golden Birthday was a fun idea and a wonderful way to shower someone with a little extra birthday love, so I was very excited to add some oomph to Joey's 25th. 
  Since his birthday fell on a Sunday and we had church in the afternoon I decided to make Joey a golden birthday breakfast. The weeks before, I spent Curran's naps making gold and glitter birthday signs and a tissue paper garland, stashing supplies in various forgotten corners around the house, and the week of his birthday I blew up a couple dozen balloons, strung them on some yarn and hid them in our spare bathroom with a sign forbidding Joey from entering. Then the morning of his birthday I snuck down stairs after feeding Curran his 5:30am bottle to hang the decorations and fix up Joey's special breakfast.
  As I planned his birthday surprise I looked for anything gold to use, including gold cupcake liners for mini mushroom and spinach quiches. I also decided that since a golden birthday only happens once in a lifetime, it was ok if we had some treats for breakfast, like gold-wrapped candies (25 of each, of course), golden cream soda, and donuts jazzed up with gold food paint. 
[More on that blue piano later!]
Curran loved looking at the sparkly decorations and playing with the balloons, and I loved surprising the greatest guy I know. Ya only get one Golden Birthday and I'm so glad I got to celebrate it with Joey and give him a special, gold and glitter filled day. Hooray for Golden Birthdays!

Monday, October 28, 2013

DIY Virginia Silhouette Wood Table

We are very excited to share this project! It had been on my mental list of future projects for quite some time and it was so fun to finally get it done a couple weeks ago. 
Added bonus: you don't need power tools or a large workspace to make it happen. Just make sure you have some adequate ventilation (open windows, fan, face mask) and you're good to go!

First, lets take a look at the Before:
*Disclaimer: Please, oh please, ignore the lighting in our apartment. I always hate it when people make this apology, but it truly is the worst.*
Joey and I found this metal and glass coffee table last month on clearance. Only problem: I can't stand glass table tops. Smudges are a constant plague (especially with two pets that insist on rubbing their noses on the underside) and the glass is always sliding around. And, I think it just looks plain ugly. But for such a small price tag, we figured we could get the table for the metal frame and just refinish the top. So home with us it went!

We had already collected some pallets a few weeks prior so I figured I could use those for the table top in an effort to make it as cheap a project as possible. Upon researching how to properly prep pallet wood for projects, however, I learned that pallets are potentially one of the worst materials you could use in the home. And being the rational yet germ/chemical-ophobe that I am, I decided I'd be much more confident in the safety of this table if I just bought new, clean wood. 

So if you're skeezed out by potential dangers of using pallets, here's what you do! Go to Lowes or Home Depot or whatever, head over to the lumber section, and pick up these super cheap 1x4x8's (or whatever size will work for your project). They have plenty of knots and distinct grain, giving the same feel as repurposed pallet wood. Plus, they're reasonably priced---I mean, at least I think they are; I'm no lumber expert, so.... Either way, for the four pieces I needed, plus a military discount, I got the wood for less than twelve bucks. Not too bad I'd say! Plus, we were able to have the store cut the wood for us, meaning tool-wise, the rest of the project simply required a hammer and hand saw.
First, Joey set to work measuring and cutting our support boards we used to assemble the table top. And yes, we did the sawing inside---nothing a little (long overdue) vacuuming can't fix!
Next we spaced out the three perpendicular boards, placed just right so the table top "locked" in to the table frame and won't slide around on top, and then took turns hammering all those nails. You'll notice the edges of the wood pieces are not perfectly aligned. Our pieces weren't quite even but hey! That worked for us. It added to the rustic, repurposed feel of the table so we kept it that way.
After sanding, sanding, sanding (which goes mighty fast with two people), my main task was up next: drawing the Virginia silhouette onto the table. And with some carbon tracing paper, it was a cinch! 
I just printed out a giant map of the state and, with the carbon paper placed between the table and the map, traced the outline with a pencil. Easy-peasy.
I spent the rest of the night painting the silhouette with three coats of white paint. And hey! If you got the November issue of Better Homes and Gardens, there's a Lowes coupon for a free sample of the Valspar paint I have here. But even without the coupon (I hadn't gotten it yet), it was only $2.98 for the 8oz jar. And the three coats took next to no paint at all, so I've still got plenty for other projects!

Once the white paint dried and I gave the table a quick wipe down, I set to staining the entire piece with Minwax Provincial stain---$4.77 for 8oz. I forgot to take a photo of this step soooo.......just pretend there's one right here.
After I had completed the painting and staining, the table waited for the weekend so Joey could apply the glossy polyurethane. Meanwhile, Marley napped...and napped some more.
We prepped the table with another wipe down with a clean cloth, and Joey applied two coats of the polyurethane while I watched from the other side of the glass door. What a guy! After that cured, a little super fine sand paper smoothed any tiny bumps from the coating. Then a final wipe down, and it was ready to make its living room debut.
Remy was curious about what I was doing and I just wouldn't get out of the shot. When I firmly told her "Remy, move!", this is what she did----
 Lets take a closer look at that mug, shall we?
 Yup, that's my dog.
 But back to the finished product! 
A repurposed, pallet wood vibe, without the dangers of pallet wood.
We love it and it turned out perfectly! Its so fun to have an idea and watch it come together just how you imagined it. And it doesn't hurt that it was a fairly cheap project and that we pulled it off with no power tools in our yard-less, garage-less state of apartment living. We love having a special piece that reminds us of where we started our life together and built so many special memories. And even though the second person that saw it exclaimed "Its Kentucky!" (Really. Really?) when they looked at it, it has already been a great conversation piece and we're very excited to share it with future guests.

And if you're feeling inspired, here's a list of the materials we used to create our new coffee table:

  • 1x4x8 Appearance grade plus pressure treated lumber (we used four, each cut in half)
  • 3 Thin boards (to run perpendicular to table top)---uhh, sorry, can't remember (or find online) what we used
  • Nails---sorry, not an expert on nails either; we just used about 40 from what we had at home
  • 100 Grit sand paper for smoothing wood
  • 220 Grit sand paper for finishing
  • Valspar 8oz paint sample, White
  • Minwax 8oz interior stain, Provincial
  • Minwax quart fast-drying gloss polyurethane
  • Tape measure
  • Pencil
  • Hammer
  • Hand saw
  • Drop cloth
  • Fabric cloth for staining
  • Rubber gloves for staining
  • Brushes for painting silhouette
  • Brush for polyurethane---and the polyurethane only!

Happy Monday!

Thursday, April 11, 2013

My Newest Accessory

Its been about a month since I left my job and I've had so much more time to work on projects and to-do's that I've been pushing to the ends of my lists for months, and one of those projects was whipping up a new wallet!

While I loved my first Vera Bradley wallet (thanks, Mom!), it was getting pretty grungy and a tad worse for the wear. Plus, I wanted something a little bigger that I could stick a little journal, iPhone, lipstick, etc in, so I could have everything in one place.

Ok ok, I get that it sounds like I just need a purse. 
But here's the thing: I hate purses. I never really used one until my senior year of high school, and even then I usually just took my wallet and phone out and left the rest behind. Even in college, the only time I distinctly remember using one was when I went to Italy for two weeks and needed a purse to carry everything I'd need each day while we were out and about. And even then I just borrowed the purse from my roommate. 

I mean I like purses (I've actually been eyeing a couple Kate Spade bags lately...), but I hate having to use one, lugging it around and never using half the things in it. Instead, I just like to have a little clutch wallet that I can stick a few necessities in, wrap around my wrist, and go!

So having a little wristlet/clutch/wallet/whatever-you-call-it works perfect for me. 
I reused the hardware from the Vera Bradley wallet, added some slots for IDs and cards, and made it a little larger so I can stick my moleskine "life book"in it---so now I always have my journal, calendar, menu plans, grocery lists, and anything else I could ever need right with me---and still with my hands free from carrying it all!
Related Posts Plugin for WordPress, Blogger...