

The only difference with this tutorial is that the fabric used is cotton, whereas the green fabric was satin. I used a lighter on the edges of the green one to add a little more curl--but be careful! This only works for synthetic fabrics. If you try it on the cotton, it will burn to a crisp in no time!
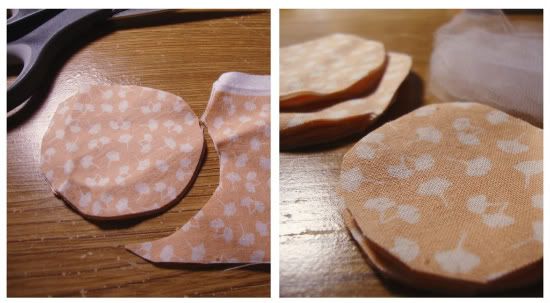
Cut a couple dozen circles from the fabric. Since I wanted a large hairpiece, the green circles were probably three inches in diameter. However, since this peachy headband was for a little one, the circles were about two inches. I also cut some smaller circles and a few white tulle circles to add a little variation. Also, the number of circles needed depends on how full you want your piece. Finally, don't worry about them being perfectly circular.
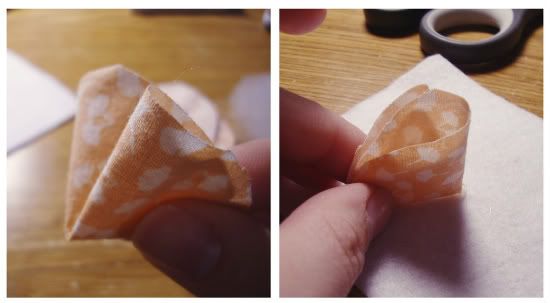
One at a time, fold a circle in quarters. I fold some right-side in and some-right side out; it just depends on the look you want. With your hot glue gun, place a bead of glue on the tip of the fold, and attach to a piece of felt.
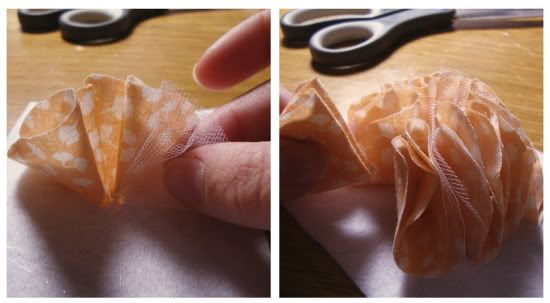
Fill with folded circles until it reaches a fullness and appearance that you like.
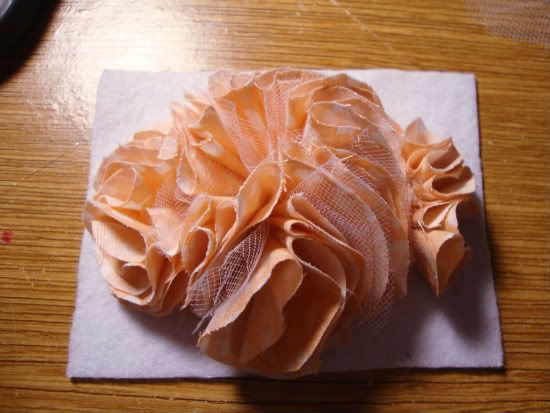
Remember the smaller circles? You can fold and glue them on opposite ends to change the overall shape of the fabric cluster.
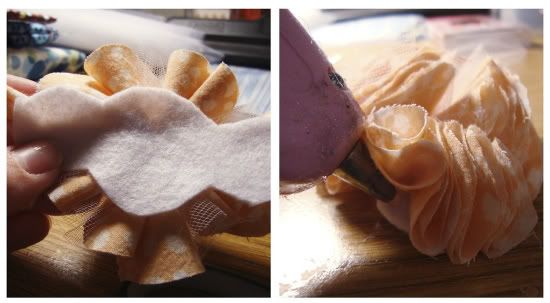
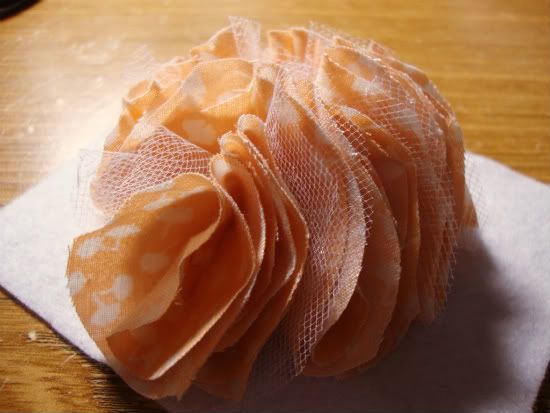
Next, turn the felt over and trim to make a base small enough that it won't be seen from the top side of the fabric. You can go back in with the glue gun to attach the edges of the felt to the fabric to make it a little more secure and firm.
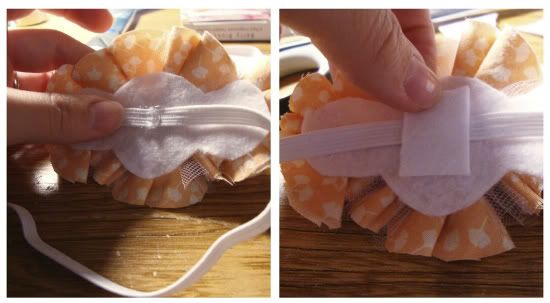
Take a piece of elastic cut to fit around the head snuggly, and glue each end to the center of the felt. Make sure to double check which way you want the piece to sit on the head and glue the elastic accordingly. You can also use hard headbands, pre-made stretch headbands, or clips--again, since this was for a little girl, I used a piece of elastic instead to make sure it was small enough to stay on her little head. Next, cover the "seam" by gluing a small square of felt to the back.

And there you are--a fun hairpiece for a little one, a dear friend, or yourself!


No comments:
Post a Comment